Vehicle Model Preperation
Preparing 3D models is the first step in creating vehicles. Follow these steps to ensure your vehicle model is ready for integration:
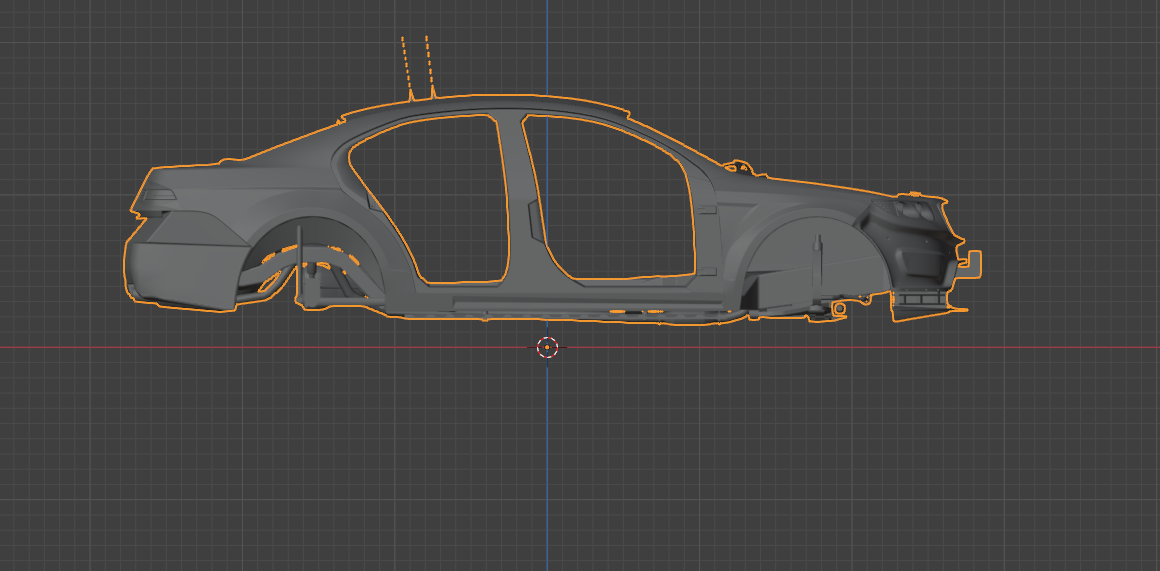
1. Align Your Vehicle to the +X Axis
Ensure that your vehicle model is facing the +X axis.
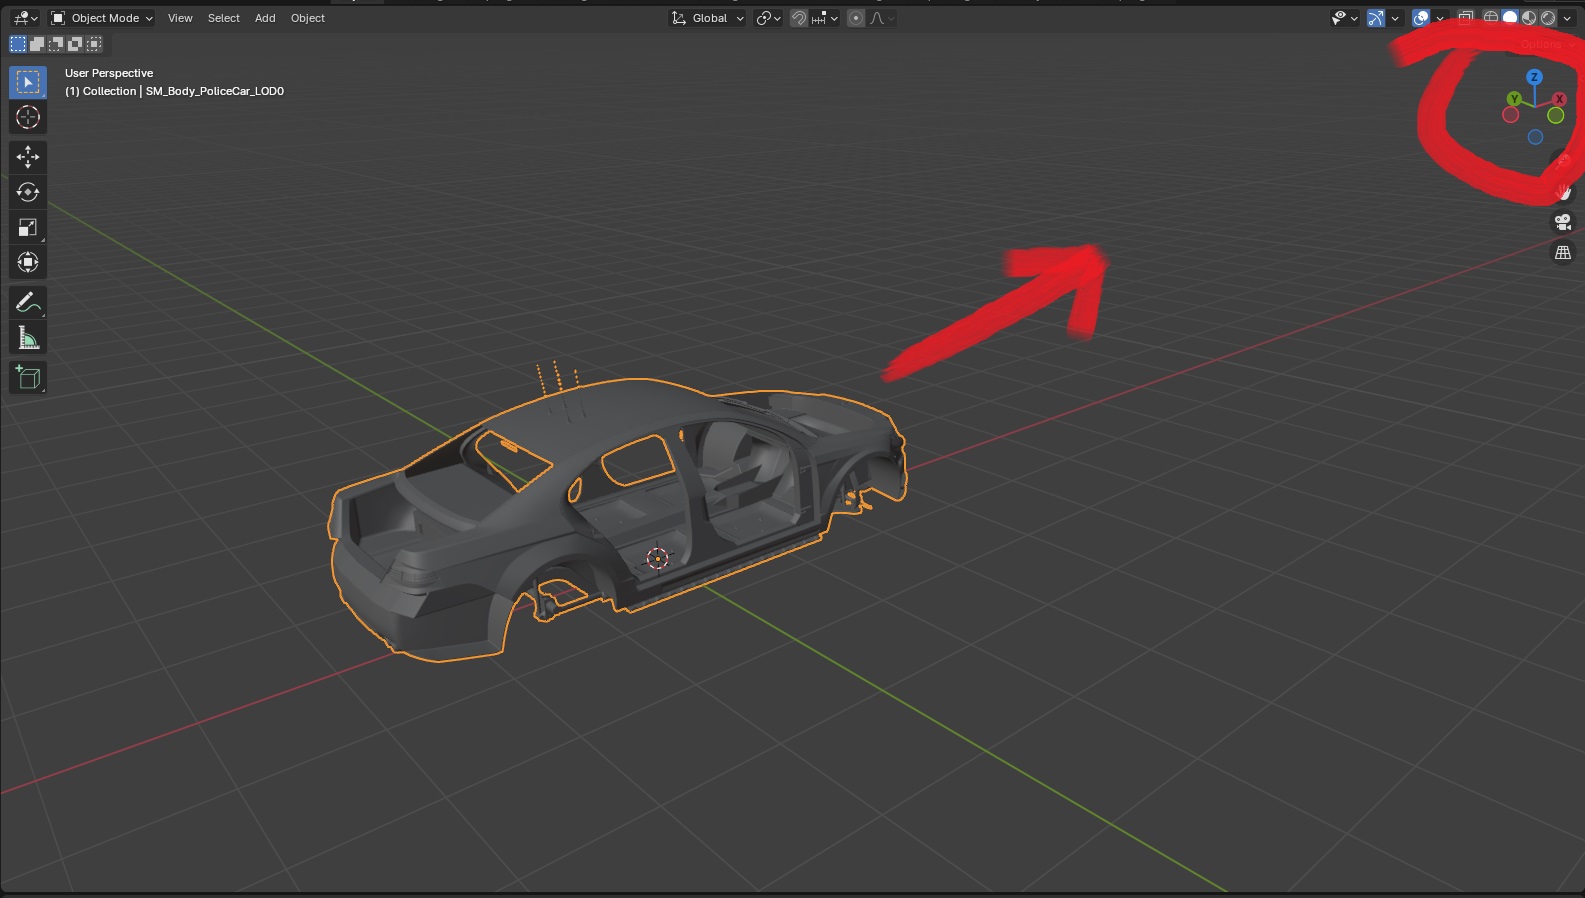
2. Position the Vehicle Above the Floor
Place your vehicle above the floor level to ensure proper alignment.
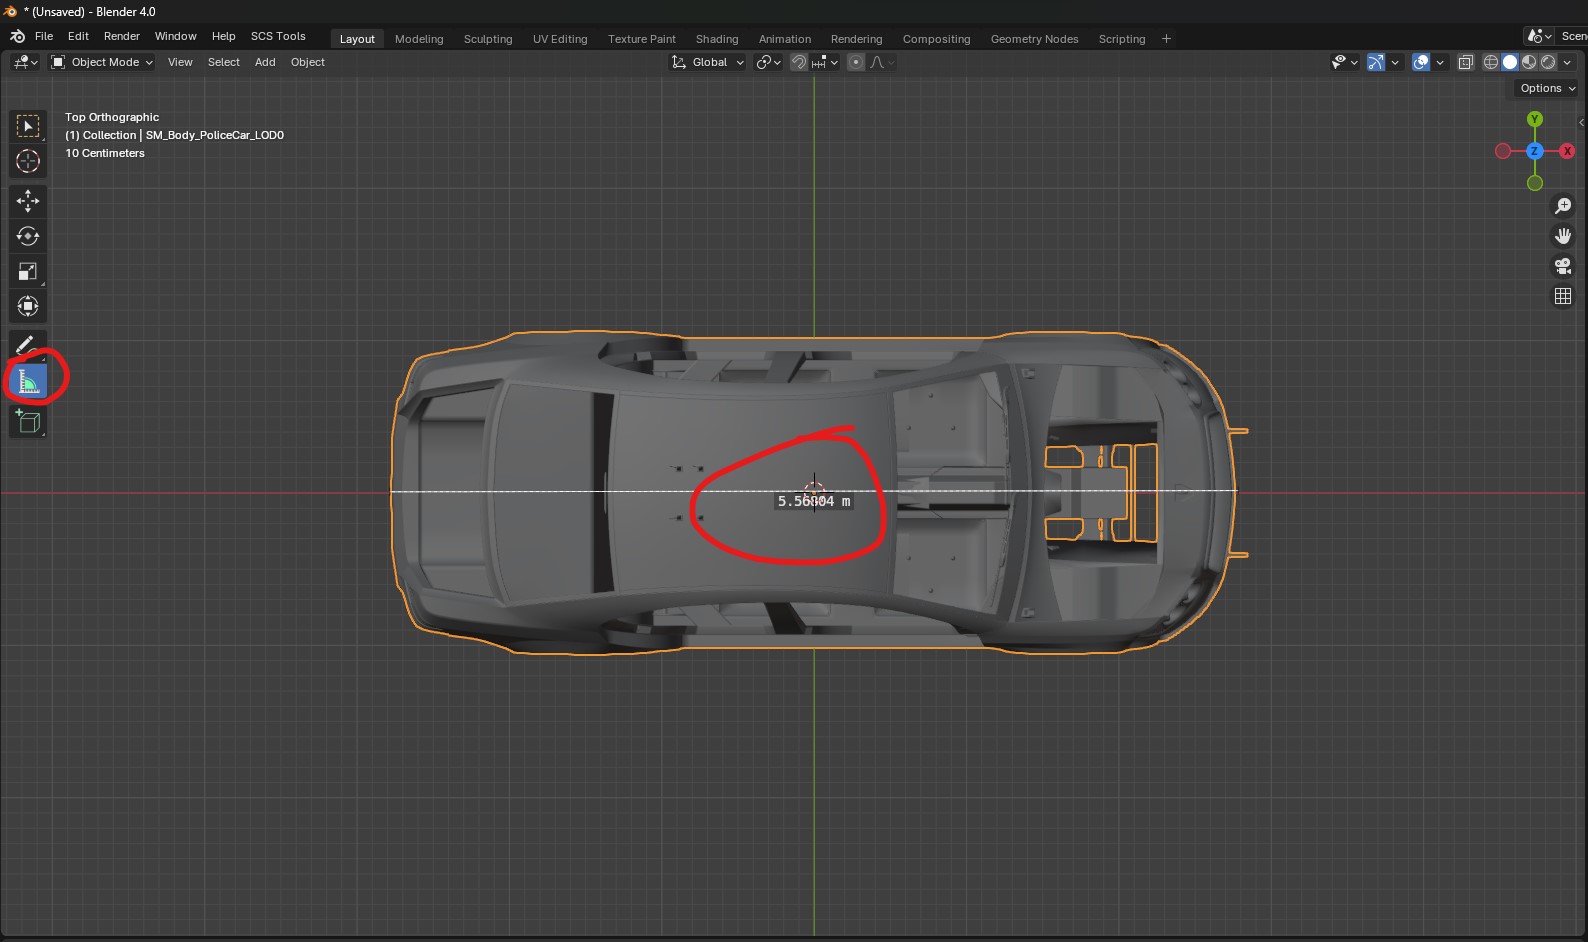
3. Verify Model Scale
It’s a good practice to measure your mesh and compare it to similar real-life models to ensure the scale is accurate.
4. Remove Suspensions and Wheels
- Suspensions and wheels should be removed from your model.
- The game provides suspension and wheel functionality.
- You can select wheels from our library or import custom wheels later.
5. Separate Movable Meshes
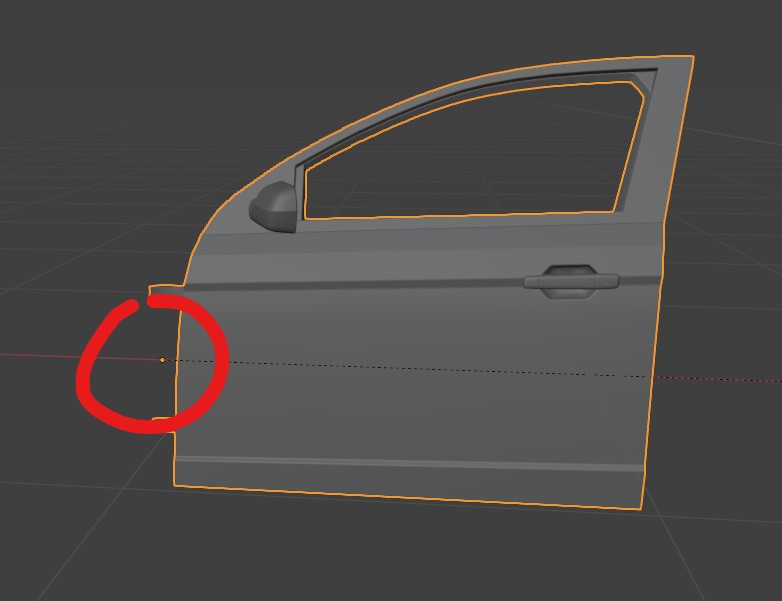
Separate every mesh that will need to move (e.g., doors, trunks, hoods).
- Set the origins of movable parts, like doors, to their hinge positions.
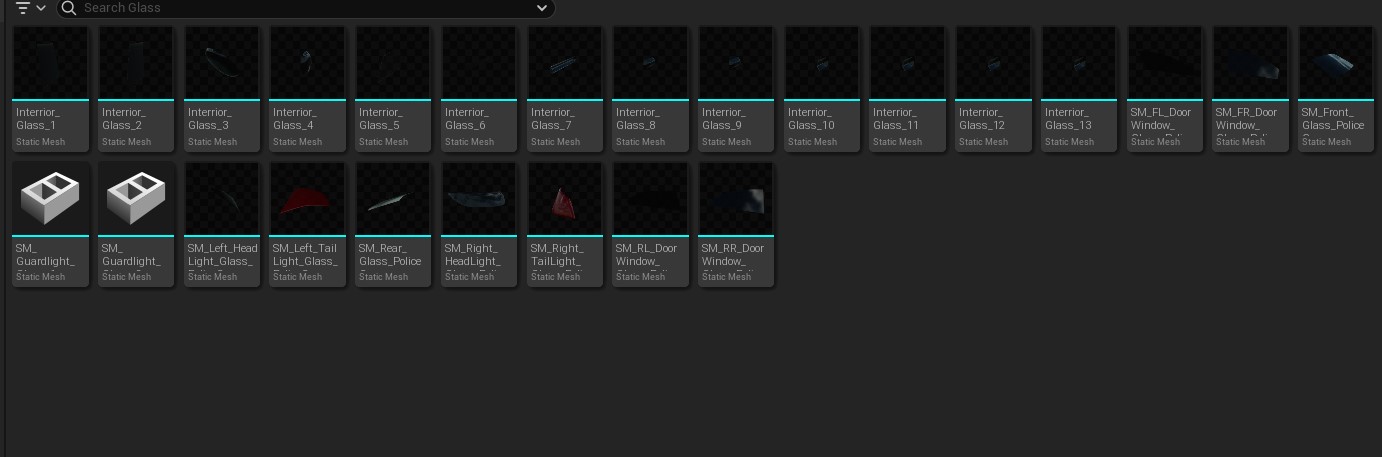
- Separate each glass piece into an individual mesh to allow it to break independently.
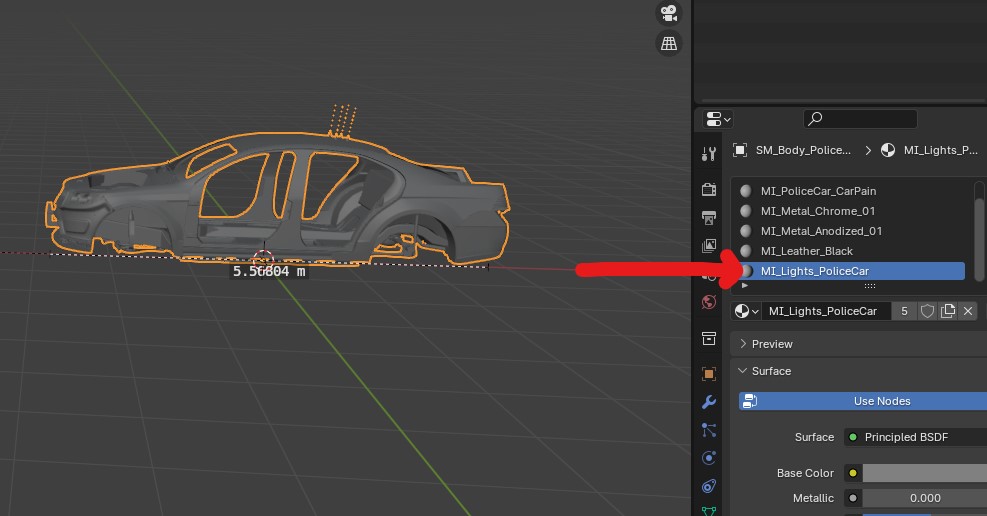
6. Configure Lights
Materials containing the name Lights will be automatically detected by the light manager. Parameters will be passed to the material, enabling it to react to light changes.